How to Make Paper Heart Pockets for the Kids this Valentine's Day
Valentine's Day is just around the corner, and what better way to celebrate than with a delightful, paper craft activity for the kids?
Today I'm showing you how to make some heart shaped paper treat pockets for your kids for Valentines Day. You can make these hearts to give to the kids as a little Valentines gift or get them to join in and help make some for their friends. If you are doing this with the kids, this project is suited to slightly older children (5+), as it can be a little fiddley.

In this blog post, I'll show you how to make these adorable paper heart pockets, perfect for holding sweet messages, treats, or small tokens of affection for Valentines Day.
Gather Your Materials
Before we start crafting, let's gather the materials you'll need. This project is simple and requires only a few items:
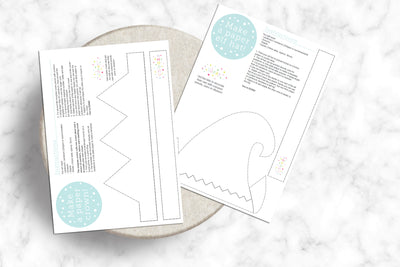
- Colored or patterned paper (you can download our free template HERE to print the pictured hearts onto plain paper)
- Scissors
- Glue / double sided tape or a sewing machine
- Items for decorating (optional)
- Printer
Print And Cut
Begin by printing the template, this contains 3 patterned heart shapes. You will need to print 2 copies to make 3 paper heart pockets. If you don't have a printer to print the template, you can trace your own heart shape onto some plain or patterned paper. You could get the kids to colour in or decorate some plain paper too.
Cut out each heart shape with scissors, removing the black outline as you cut (if using the template).
Seal The Edges
Taking 2 cutout paper hearts, place them blank sides together and;
Using glue / double sided tape - apply a thin layer along the bottom edges of the heart, leaving the top part open. Press the edges together to seal, creating a pocket. Allow the glue to dry completely, ensure there are no gaps around the bottom part of the hearts.
Using a sewing machine - using a long stitch length, sew around the bottom of the paper hearts to create a pocket.

Fill With Love
Now comes the fun part – filling! Once the glue is fully dry, carefully separate the layers of paper at the top of the paper heart to create a pocket. Add in your choice of small item/s; we used confetti (made with a hole punch and red paper), with a small treat or a fun eraser. You could also use, little hearts made from cardboard or felt (so they don't rip when the heart is opened), dried flowers, or chocolate hearts/coins.
NOTE - you MUST use small, flat items and only 1 or 2, if you overfill the heart, you won't be able to close it up in the next step.
Finishing Off
Once your heart pockets are filled, seal up the top edges with glue and leave to dry, or use a sewing machine to stich as before. If you wish, you can add some extra decorations with stickers, ribbon or pens. You're done!
Once gifted, tear the paper heart to open.

These paper heart pockets make a fun craft activity for Valentine's Day, to gift or make with your kids. You can also make them in different shapes for place settings or party favours for a kids party too.
I'd love to see your creations!
If you do make some of these paper heart pockets, tag me on social media so I can see; @schooza #schooza
If you found this tutorial helpful, spread the love by sharing it with friends and fellow parents gearing up for Valentine's Day.
If you'd love another craft idea for the kids to make, check out our blog post on 5 DIY Crown Ideas to Make